Overview:
This document outlines the process required to configure Jive 8.0 to work with Active Directory Federation Services 2.0.
This document only outlines how to setup a new installation of Jive to authenticate using ADFS it does not outline how to migrate from
an alternate authentication source to ADFS.
Assumptions:
1. Active Directory Federation Services 2.0 on Windows 2012 R2 is installed
2. AD FS will be using Active Directory to authenticate users.
3. Jive 8.0 (Jive 7 & 6 *should* work also) is installed
4. Your Jive instance must be using https for this to work
Configuring ADFS
1. Open AD FS console and expand trust relationships and right click on the Relying party trusts and select Add relying party trust
2. Click start and on the next screen enter the URL for your Jive SP Metadata in the first section. By default the URL is "https://
3. Type a displayname to identify this trust. Click Next
4. On the multi-factor authentication step makre sure "I do not want to configure multifactor authentication settings....." is selected and click next.
5. Accept the default option "Permit all users to access this relying party" and click next
6. Click next on the finish step and you should see the new relying party trust in the Relying Party trusts folder.
7. Next you will need to add a claim rule to send attributes from active directory to jive.
8. Right click on the new Relying Party Trusts you created and select edit claim rules.
9. On the Issuance Transform Rules tab click Add Rule at the bottom.
10. Make sure "Send LDAP Attributes as Claims" is selected in the claim rule template drop down box. Click Next
11. Type a name for the new claim rule, In the attribute store box select active directory.
12. In the Mapping of LDAP attributes to outgoing claim types box select the items listed below at a minimum just to get authentication working. If you would like to send more attributes later you can add them here. Note you can type a name in the box if you do not see it in the drop down list.
13. Once complete click ok to close those windows
14. Now to confirm that everything is working properly go to the ADFS metadata url and you should see either see an xml output or recieve a prompt to download the xml file. Either way that means it is working properly.
Default URL: https://
Configuring Jive
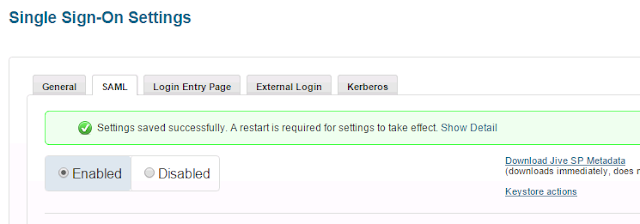
1. Login to the Jive Admin console and select People -> Settings -> Single Sign-on
2. Click the SAML tab and in the Load Metadata from URL box type the ADFS Metadata URL and click Load. (*In my case this process failed, to get around that failure i had to download the xml file and copy & paste the contents into the box and then select save all SAML settings).
3. If you dont see the User Attribute Mapping Tab restart the jive services and then log back in.
4. Click the User Attribute Mapping tab and configure the settings like the screenshot below.
5. Click the General Tab and select configure the settings like the screenshot below
6. Once you configure the settings then click the Enable Button at the top to enable SAML and then click save all SAML settings
7. Restart the jive services
8. When the jive services restart browse to the site and you should notice that you are redirected to the ADFS SAML authentication page first. Enter your credentials either as "


No comments:
Post a Comment